
개발자 되어버리기
네이버 메일로 SMTP 사용하기 본문
구글쪽 smtp 쓰는것은 많이 나와있고 생각보다 쉽습니다.
구글이 아닌 네이버 쪽은 어떻게 할지 간단하게 포스팅해보겠습니다.

1. 설정으로 들어갑니다.
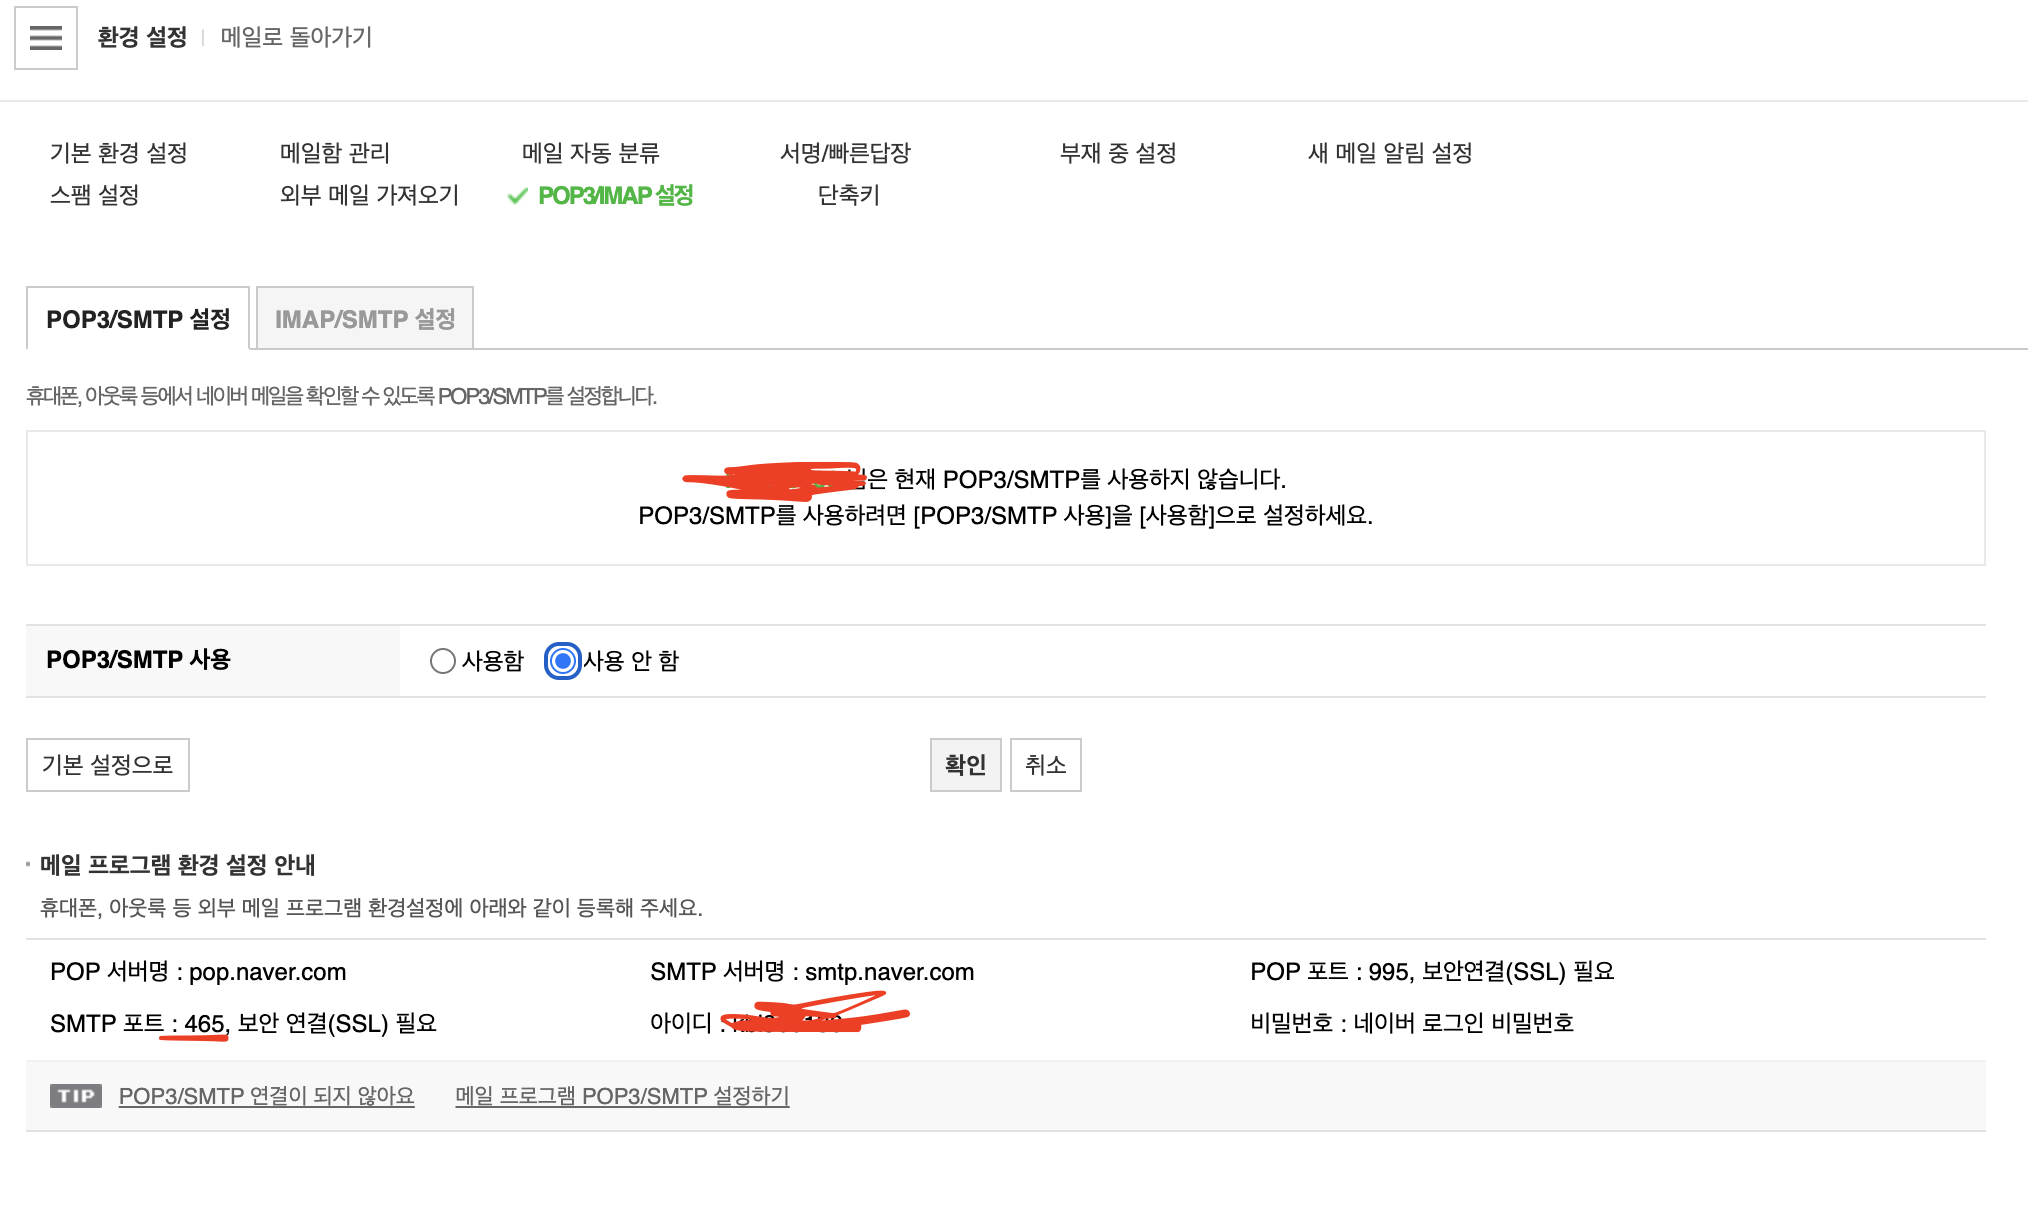
2. 위 사진과 같이 설정을 해줍니다.
이후에는 yml에 네이버 계정 관련된 정보를 넣어줍니다.
email:
  host: smtp.naver.com
  username: myId
  password: myPassword
  port: naverport
저희가 쓰는 포트는 465 포트 입니다.
그 다음은 yml 데이터를 읽어올 클래스를 작성 합니다.
@Configuration
// yml 파일에서 가져올 변수 이름을 명시해준다.
@ConfigurationProperties(prefix = "email")
@Setter
@Getter
public class ApplicationEmail {
    private String host;
    private String username;
    private String password;
    private int port;
}
이후에는 이메일 요청에 대한 dto 클래스를 작성합니다.
@Data
@Service
@Getter
@AllArgsConstructor
@NoArgsConstructor
public class EmailSenderRequestDto {
    // Model 에 보이는 설명들.
    @ApiModelProperty(example = "mango@naver.com", value = "받는 사람의 이메일 주소", required = true)
    private String recipient;

    @ApiModelProperty(example = "차카지 계정을 활성화 하세요!", value = "이메일 제목", required = true)
    private String subject;

    @ApiModelProperty(example = "이메일 인증 링크를 클릭하여 들어가주세요!", value = "이메일 내용", required = true)
    private String body;
}
@Component
public class EmailService {
    private final ApplicationEmail applicationEmail;

    public EmailService(ApplicationEmail applicationEmail){
        this.applicationEmail = applicationEmail;
    }

    public void sendEmail(EmailSenderRequestDto emailSenderRequestDto) throws Exception{
        //메일 관련 정보
        String host = this.applicationEmail.getHost();
        final String username = this.applicationEmail.getUsername(); //네이버 이메일 주소중 @ naver.com 앞주소만 작성
        final String password = this.applicationEmail.getPassword(); //네이버 이메일 비밀번호를 작성
        int port = this.applicationEmail.getPort();                  //네이버 STMP 포트 번호

        //메일 내용
        String recipient = emailSenderRequestDto.getRecipient(); // 받는 사람의 이메일 주소
        String subject = emailSenderRequestDto.getSubject();     // 메일 발송시 제목을 작성
        String body = emailSenderRequestDto.getBody();           // 메일 발송시 내용 작성

        Properties props = System.getProperties();

        props.put("mail.smtp.host", host);
        props.put("mail.smtp.port", port);
        props.put("mail.smtp.auth", "true");
        props.put("mail.smtp.ssl.enable", "true");
        props.put("mail.smtp.ssl.trust", host);

        Session session = Session.getDefaultInstance(props, new javax.mail.Authenticator() {
            String un=username;
            String pw=password;
            protected PasswordAuthentication getPasswordAuthentication() {
                return new PasswordAuthentication(un, pw);
            }
        });
        session.setDebug(true); //for debug

        Message mimeMessage = new MimeMessage(session);
        mimeMessage.setFrom(new InternetAddress(this.applicationEmail.getUsername()+"@naver.com"));
        mimeMessage.setRecipient(Message.RecipientType.TO, new InternetAddress(recipient));
        mimeMessage.setSubject(subject);
        mimeMessage.setText(body);
        Transport.send(mimeMessage);
    }
}
마지막으로 이메일 보내는 코드를 작성하면 됩니다.
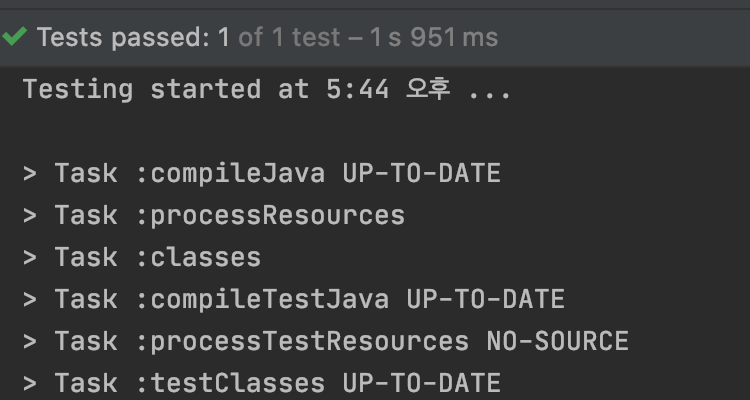
메일을 보내는 테스트코드를 작성해보도록 하겠습니다.
@SpringBootTest
class ApplicationTests {
@Autowired
private EmailService emailService;
@Test
public void sendEmail() throws Exception {
// 변수는 차례대로 받는사람의 메일주소, 제목, 내용 입니다.
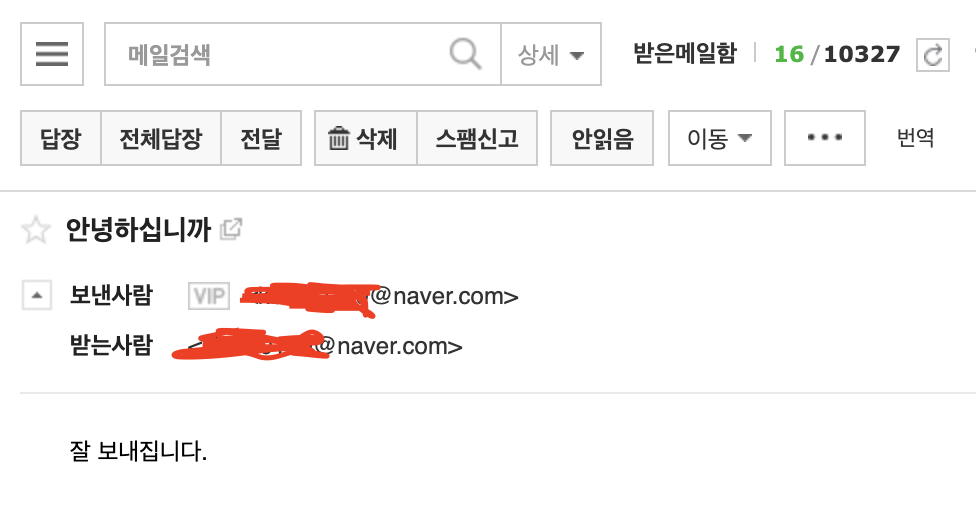
emailService.sendEmail(new EmailSenderRequestDto("받는사람이메일주소@naver.com", "안녕하십니까", "잘 보내집니다."));
}
}
실행시켜보면 성공적으로 메일이 왔는지 확인해봅니다.
이상으로 포스팅을 마치겠습니다.
'개발 > Spring_Boot' 카테고리의 다른 글
| SpringBoot 트래픽 제한하기 (0) | 2020.12.06 |
|---|---|
| SpringBoot에서 Docker Redis를 이용해 jwt 로그아웃 처리하기 (0) | 2020.12.05 |
| Springboot + NAVER S.E.N.S 보내기 (V2 헤더 세팅) (8) | 2020.11.14 |
| 로컬환경에 SpringBoot에서 간단하게 https 적용하기 (0) | 2020.10.25 |
| Springboot Security + JWT (Json Web Token - RS256 ) 발급하기 (0) | 2020.10.19 |
'개발/Spring_Boot' Related Articles
more


